The Different Stages of Prototyping
Liv Dykes
Prototyping is a useful tool to help a client visualise a product’s interactions before starting development, saving time, money and wasted efforts.
There are different kinds of prototyping activities that help to break down complex projects and give stakeholders, designers, developers and users a greater understanding of what is needed.
Stage 1 - Proof of Concept Flow
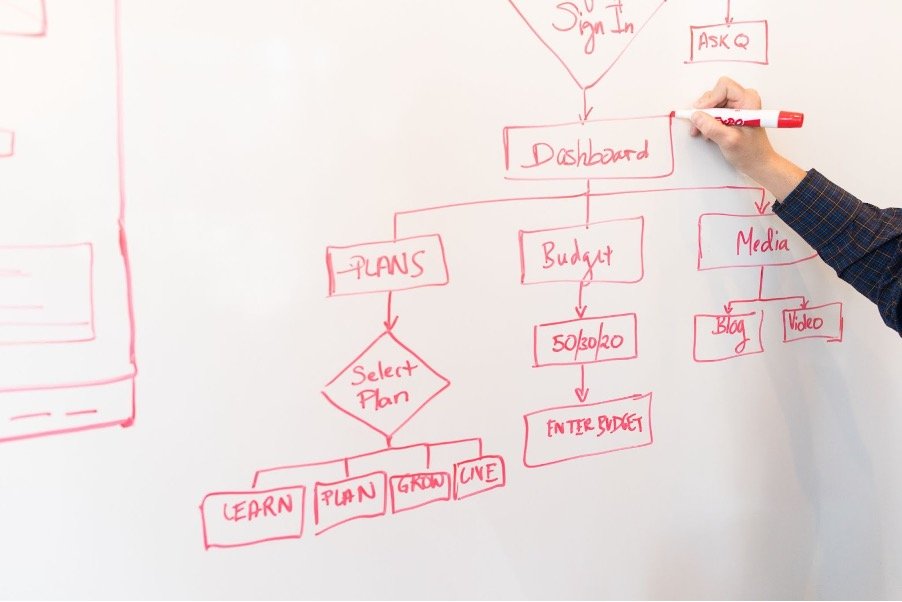
Example: Flow Chart
A flow chart is a diagram of the path a user will take to complete a task, and breaks down the smaller steps that lead toward the endpoint. This is used as a high level overview to help understand what is being asked of designers within a project.
Each potential step is mapped out to see how the overall product journey will look. This would be used in the planning stage to organise the client’s requirements to create a product.
This method is beneficial for a project and helps to create a rough structure and connect the dots detailing how users will move through the product’s interface, ready for the next design stage. It can even help you descope an idea down to its most important parts.
End Result: An easy to understand map of steps to present to designers and stakeholders.
Benefits: Gives a shared understanding to all involved, and often uncovers edge cases and things not often considered, or new requirements.
Stage 2 - Low-fi Prototyping
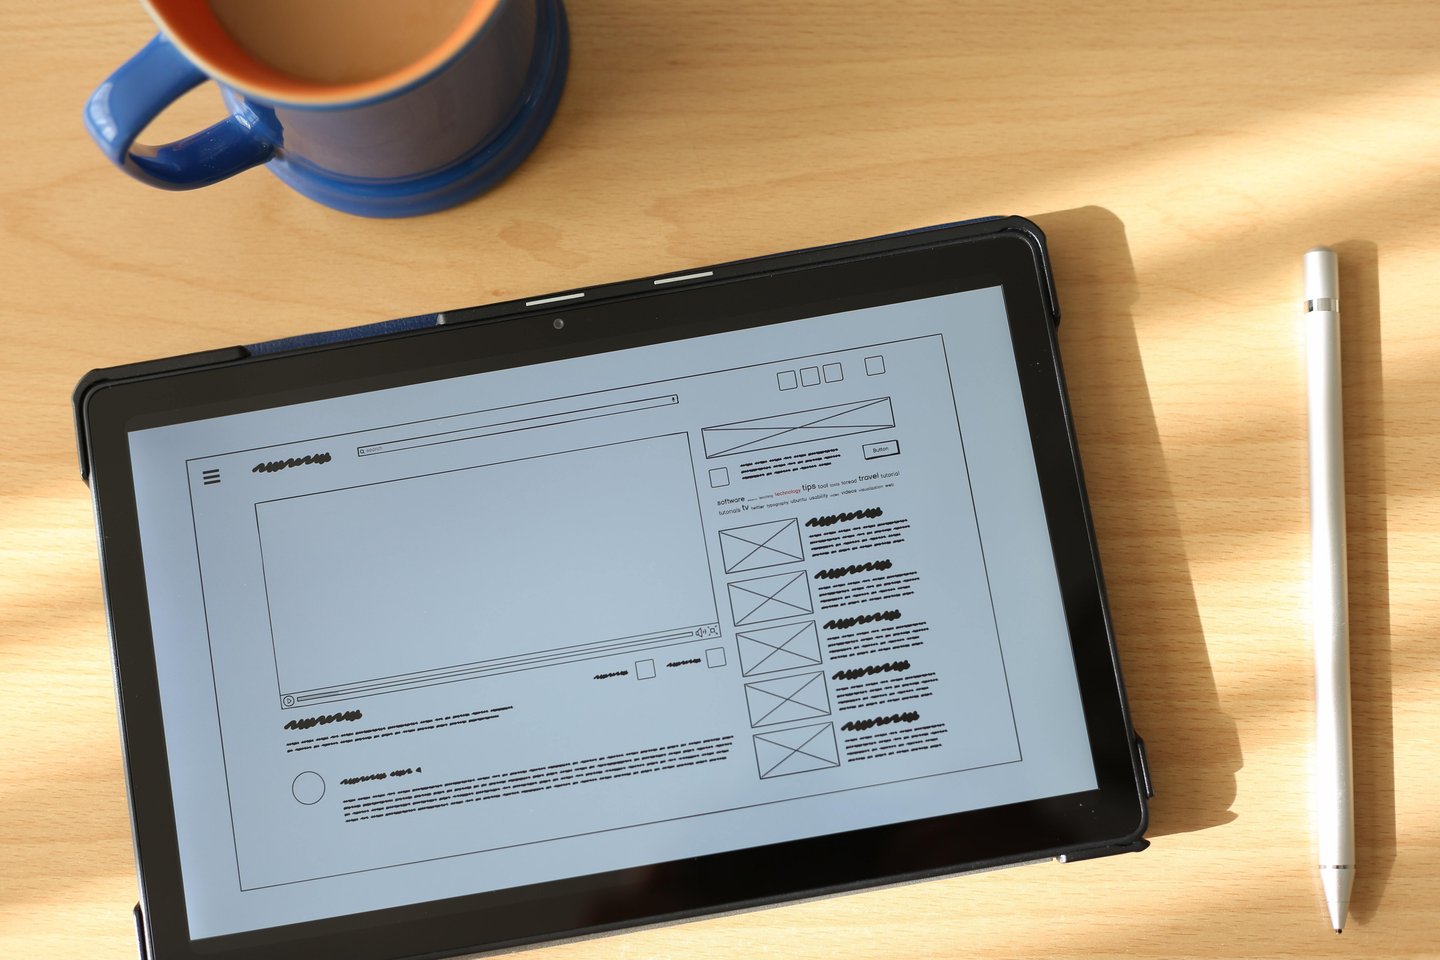
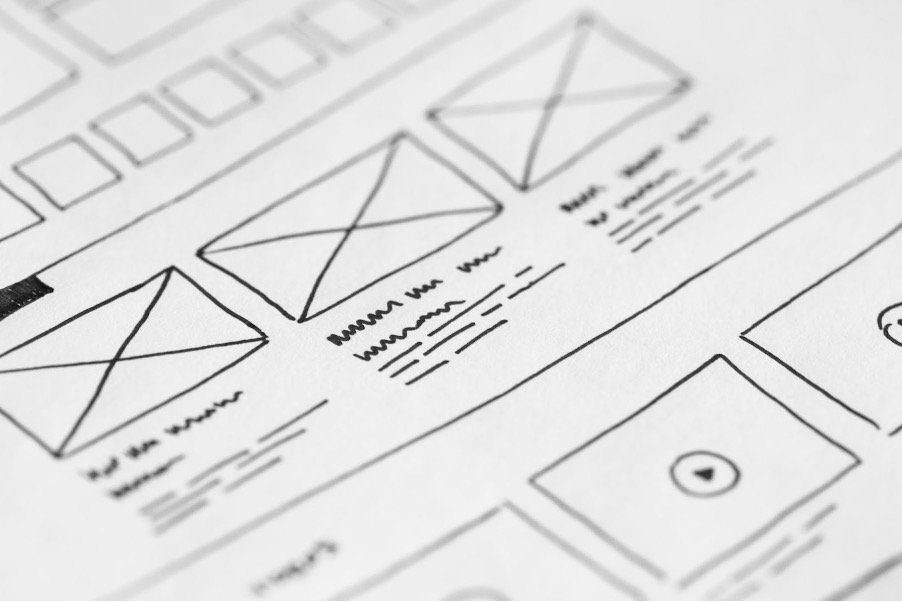
Example: Wireframing
A wireframe is a low-fidelity illustration that doesn’t include more visual design elements but allows you to correctly map out where things go, and how things work at a high level - structure. This ‘low-fidelity’ model allows designers to create the layout of the content and begin creating the functionality of how to move from page to page. Wireframes can be made both zoomed out at a small size, more like a flow chart without content, or bigger with actual content. It’s often good to get content right before adding design, as that helps the designers understand how much real-estate something would need on screen
This method is used early in the design process to clearly establish the basic visual hierarchy of information before finer design details are added.
End Result: A blueprint of the interface that provides how the overall flow of the task will go. A more detailed wireframe could show content in place, without distracting visual design elements.
Benefits: Getting the flow right, testing early and cheaply, Looking at content and how it fits in.
Stage 3 - High-Fidelity Prototyping
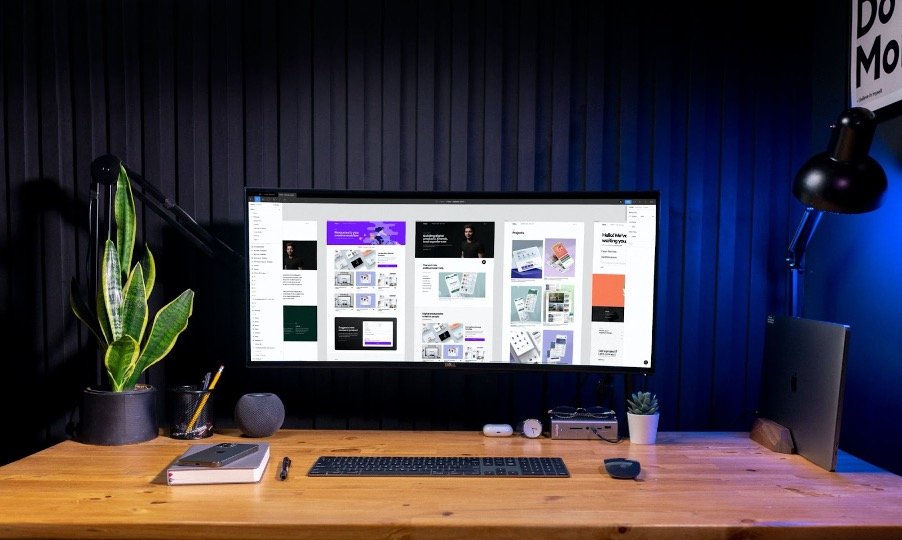
Example: Clickable computer-based prototype
The high-fidelity prototype comes when you are more sure of what you are making. Made up of highly detailed, requirement-accurate screens often representing exactly how your application will look when finished, it can be used alongside prototyping tools to demonstrate clicking through a system as it would be when complete.
This is often made right before development starts, and can be used for more realistic user testing. High fidelity design is usually undertaken when you are more sure of both your layout and content - as this takes the most time and effort, it makes sense to go through stage 1 and 2 first. This version of the prototype would be true to the final product so the user can see exactly how they can navigate through the interface. While there are always little interaction details that you can’t show in static high fidelity mockups, you can cover a good 90% of what a product will end up looking like.
End Result: A clickable prototype that shows the exact functionality and design of the final product, ready to be sent to developers.
Benefits: Something that you can demonstrate in a web browser or mobile device, representative of your end product, that can also be used in promotional pitches or demonstrations.
In Summary
It’s important to recognise the differences of each stage and how they can be valuable to you and your project.
Choosing the right fidelity of prototyping at the right time leads to better UX and design, aids communication with your team, reduces costs, helps validate designs with users and gets to the right product faster.
If you’re interested in developing your upcoming projects with us, please do get in touch!